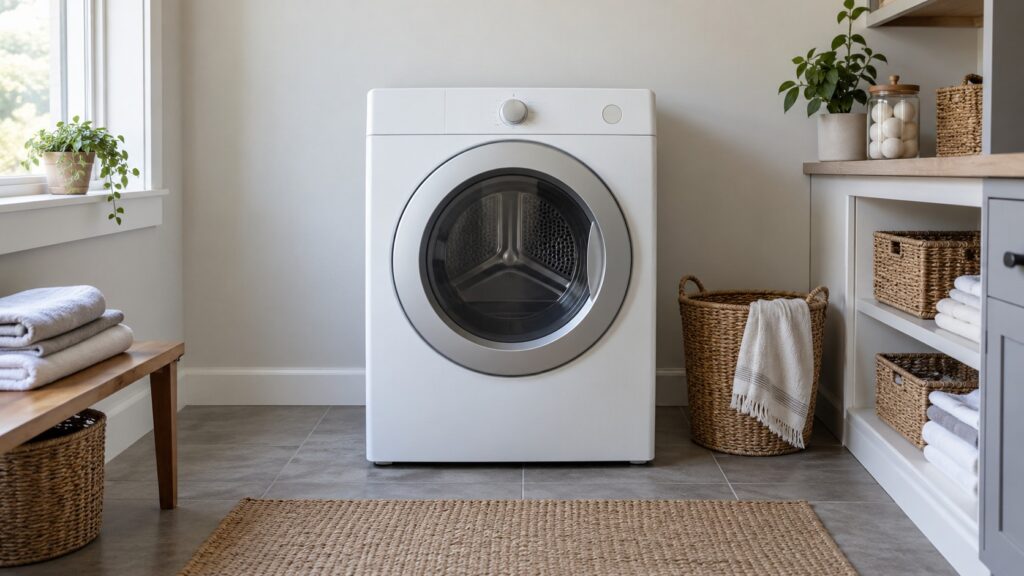
Fisher Paykel dryer vent kit installation starts with one question: is your dryer vented or ventless? A vented dryer, such as the DE7027 electric or the DG7027 gas model, pushes moist air out through a duct to the outside, so the vent run and its connection are the heart of the job. A ventless condensing dryer, such as the DE4024, collects the water internally and needs no duct at all. Our site lists all of these as legacy or discontinued US models that we still service, so check the model plate before you buy a kit or move the machine.
How do you know which dryer you have?
Look for the model number on the label inside the door opening or on the back panel. The letters and digits tell you which of the three situations applies, and our model pages for the DE7027P2, the DG7027P2 and the DE4024P1 describe each one in the terms we use on service calls. Do not guess from the look of the cabinet: a vented and a ventless dryer can be hard to tell apart from the front, and the wrong assumption ends with a duct that goes nowhere, or with a vent kit that does not belong on the machine.
If you are unsure whether your unit is vented, look at the back. A vented dryer has an exhaust outlet to which a duct attaches. A ventless condensing dryer does not.
What does a vented Fisher Paykel dryer need?
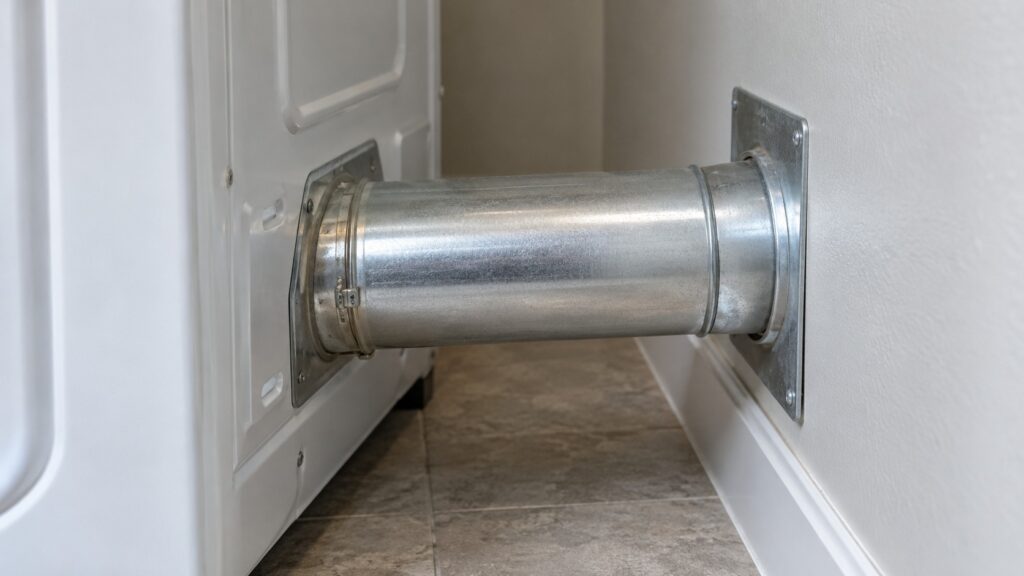
A vented dryer needs a duct that carries moist, lint-laden air from the back of the machine to an exterior wall or roof termination. Use rigid or semi-rigid metal ducting, never plastic or vinyl, because a duct that traps lint is a fire hazard. Keep the run as short and straight as practical, because every bend and every extra foot restricts airflow, and a dryer that cannot breathe takes longer to dry and runs hotter. Your installation instructions give the maximum run length and the allowed number of elbows for your model, so follow them rather than a number from a general website.
When you connect the duct, push it fully onto the outlet and secure it with a clamp, then confirm the other end opens to the outdoors, not into a wall cavity, an attic or a crawl space. A flap or cap at the termination should open when the dryer runs. Our dryer vent cleaning guide explains why a packed vent is dangerous and how to keep it clear after installation.
How do you connect the vent kit step by step?
The general order is the same for every vented dryer. First, switch off the power at the breaker and unplug the dryer. On a gas model, do not disturb the gas connection; if the dryer must be moved, have the gas valve closed and the connection handled by a licensed professional. Second, pull the dryer forward just enough to reach the back panel. Third, attach the duct to the exhaust outlet, tighten the clamp, and check that the duct is not crushed behind the machine. Fourth, push the dryer back, keeping the duct free of kinks, and level the machine using its feet. Fifth, restore power and run a short air-only cycle while you check that air flows firmly from the outside termination.
Exact steps for your model differ, so keep the owner’s manual and installation sheet to hand. A dryer that has been stacked on a washer needs more care; our guide to washer and dryer stack installation covers the kit and support needs.
What changes with a ventless dryer?
A ventless condensing dryer does not need an exhaust duct, which is why it suits a closet or an interior room where venting is impractical. In its place it needs a way to deal with the water it removes from the clothes. How that works on your model, and how much room it needs around it, is set out in your installation instructions, so check them before you place the machine. Because it has no duct, there is no vent kit to buy for it, and any kit offered for a ventless model should be questioned.
The trade-off is maintenance. A ventless unit has filters and a condensing system that need regular cleaning, and our heat pump dryer maintenance tips describe the routine that applies to condensing designs in general.
What should you check before and after installation?
Before you start, check the electrical outlet type and the dedicated circuit your instructions call for, and do not substitute an extension cord or adapter. Measure the space, including room behind the machine for the duct. After you finish, run a cycle and put your hand near the connection to feel for leaks of warm air, check that the dryer sits level and does not rock, and watch for the first few cycles for a burning smell or unusually long dry times. If either appears, switch the dryer off and see our guides on a dryer burning smell or one that takes too long to dry.
When should you call a technician?
Call a licensed professional for any gas connection on a DG7027 and for any change to the electrical supply. Call us when the dryer is installed but will not start, will not heat or shows a code, because a technician can test the parts rather than guess. Our Fisher Paykel dryer repair page explains what a visit covers.