The way you stack a rack determines whether dishes come out spotless or streaked, so this rundown of the most common fisher-paykel dishwasher loading mistakes is worth a few minutes before your next cycle. A correctly arranged Fisher & Paykel dishwasher cleans a full load in a single pass, while a poorly arranged one returns food residue, water spots, and pots that need a second wash. Below are the twelve habits that quietly sabotage results, drawn from what our experienced technicians see most often on service calls. For background on the brand’s engineering, the New Zealand company behind these machines has built dishwashers since 1934 and you can reference the official Fisher & Paykel site for model details.
1. Pre-rinsing dishes
Counterintuitive, but don’t do it. Fisher & Paykel dishwashers — especially models with PrecisionWash — use sensors to detect soil level and adjust water temperature and cycle intensity accordingly. Pre-rinsed dishes trick the sensors into running a lighter cycle. Scrape large food pieces into the trash, but leave the rest. Your dishwasher needs something to work on.
2. Blocking the spray arms
Tall items in the lower rack (cutting boards, baking sheets) can block the upper spray arm from spinning freely. Before starting a cycle, close the door slowly and listen — if you hear the spray arm hit something, rearrange. The lower spray arm needs clearance above it, and the upper spray arm needs clearance below it.
3. Nesting spoons
Spoons placed in the same direction nest together, and the inner surfaces don’t get clean. Alternate spoon directions — some facing up, some facing down. Better yet, use the third rack (Series 5 and up) for flatware.
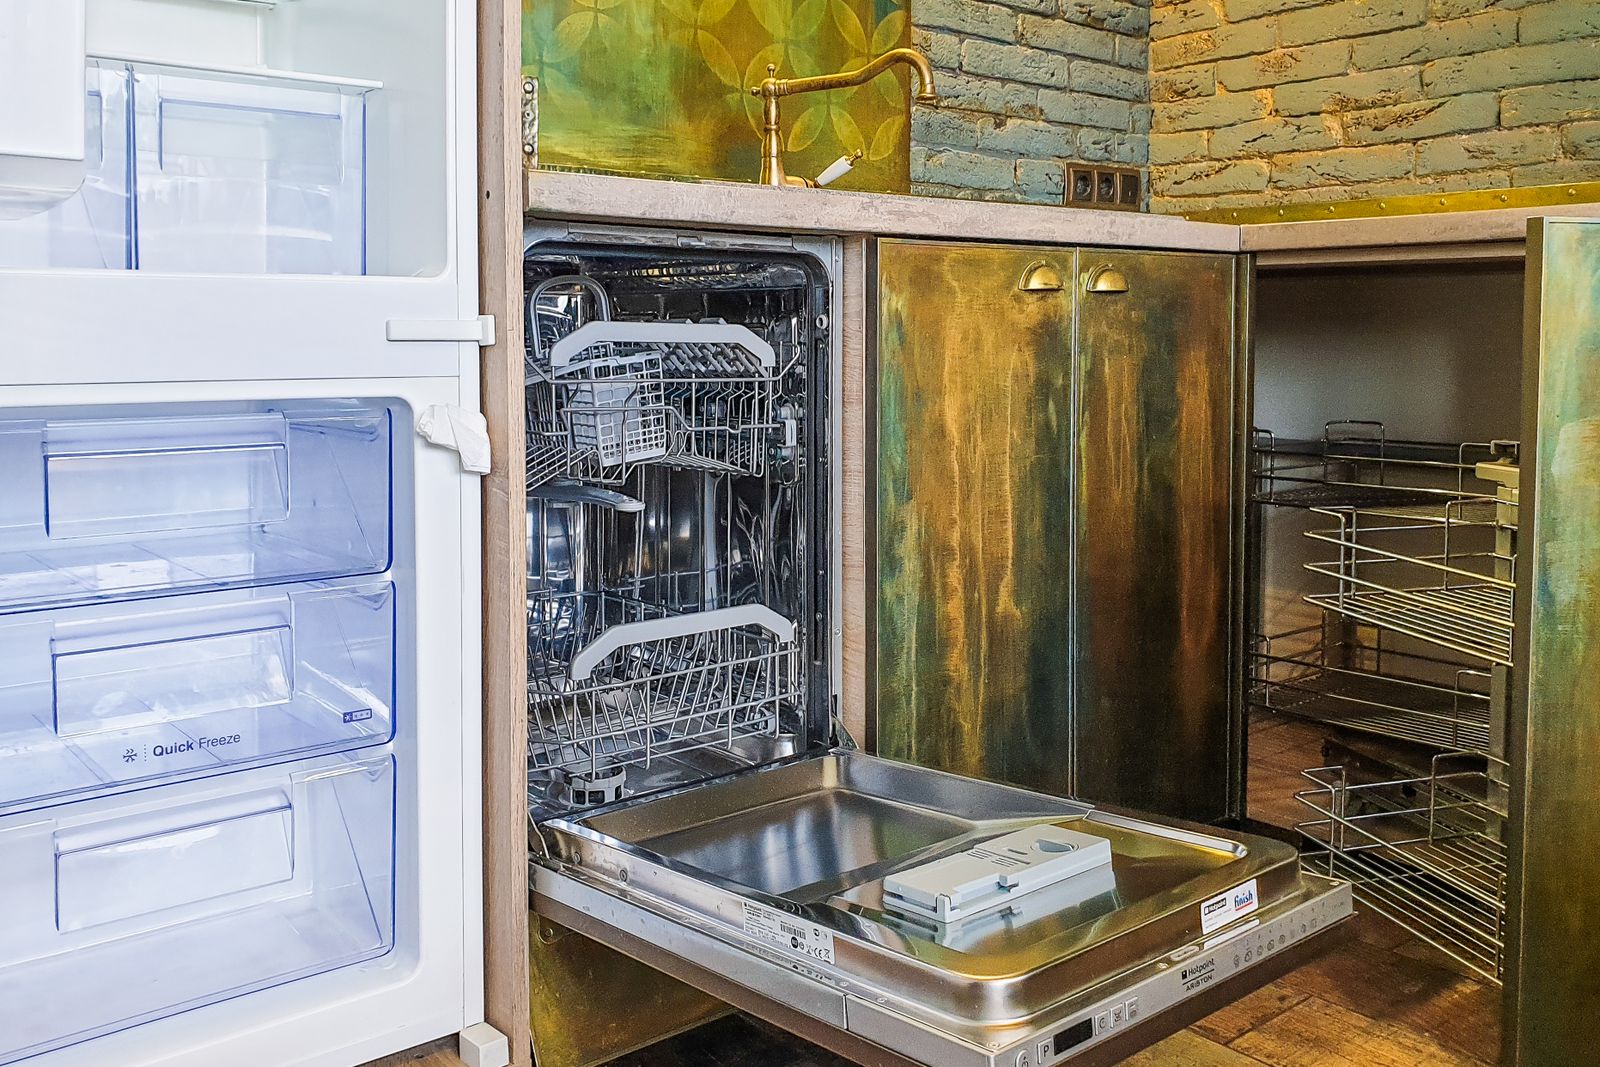
4. Placing cups right-side up
Cups, bowls, and containers must face downward and at an angle. Right-side up, they collect dirty water that pools and doesn’t drain. Angle them so water runs off — don’t lay them flat.
5. Overloading
More dishes per load seems efficient, but cramming blocks water circulation. Spray arm jets need a clear path to every surface. If you can’t see gaps between items, you’ve overloaded. Two properly loaded cycles clean better than one overstuffed cycle.
6. Wrong rack for the item
Lower rack: pots, pans, plates, cutting boards (heavy, dirty items). Upper rack: glasses, cups, small bowls, delicate items. Third rack: utensils, small lids, measuring spoons. Putting heavy items on the upper rack reduces water pressure to the lower rack.
7. Placing large items at the front
Large pots and pans at the front of the lower rack block the detergent dispenser’s spray pattern. Place them at the sides and back, facing the center spray arm.
8. Using too much detergent
More detergent doesn’t mean cleaner dishes. Excess detergent creates too many suds, reduces cleaning efficiency, and leaves a filmy residue. Follow the detergent manufacturer’s recommendation for your water hardness. For Fisher & Paykel dishwashers, Finish Quantum or Cascade Platinum pods are well-matched.
9. Mixing metals
Sterling silver and stainless steel in the same basket can cause a chemical reaction called galvanic corrosion, leaving black marks on silver items. Separate metals.
10. Ignoring the filter
If your dishes come out with gritty residue, the drain filter is probably full. Clean it monthly — it takes 60 seconds. See our filter cleaning guide.
11. Wrong cycle selection
Auto cycle works for most loads. Heavy cycle for pots with baked-on food. Express/Quick for lightly soiled items. Using Heavy for every load wastes water and energy; using Quick for greasy pans leaves residue.
12. Running half-empty loads
Half loads use almost as much water and energy as full loads. Wait until you have a full load, or use the Half Load option if your Fisher & Paykel model has one — it adjusts water usage for smaller loads.
fisher-paykel dishwasher loading mistakes: key takeaways
Avoiding these fisher-paykel dishwasher loading mistakes is the cheapest performance upgrade your machine will ever get — no parts, no tools, just better habits at the rack. Work through the twelve points above and you should see cleaner results from the very next load. If grit, film, or poor drying continue even after you correct your loading, the problem is likely mechanical rather than habitual, and you can schedule professional service for a closer look.
Maintaining your Fisher & Paykel dishwasher loading mistakes habits long-term
Smart loading pairs naturally with a light maintenance routine: rinse the filter, wipe the door gasket, and run an empty cleaning cycle each month to keep spray jets clear and odors away. Fisher & Paykel builds these dishwashers to tight durability standards, but mineral scale and worn seals still creep in over years of daily use, so a quick monthly check keeps small wear from turning into a callout. Note your model and serial numbers from the plate inside the door before you ever need them — our specialist technicians can quote the right pump or spray arm faster when that information is on hand, and parts come from trusted suppliers with a 30-day labor warranty. Most diagnostic visits start at a flat call-out you can apply toward the repair, with final cost depending on the diagnosis.