A successful fisher-paykel dishwasher installation comes down to one thing: confirming that your kitchen already matches the unit’s electrical, plumbing, and cabinet requirements before delivery day. Most installs go smoothly; the headaches happen when a homeowner discovers mid-job that a circuit is shared, a valve is out of reach, or the opening is half an inch too tight. Run through every item on this checklist while there is still time to fix a mismatch.
Cabinet opening
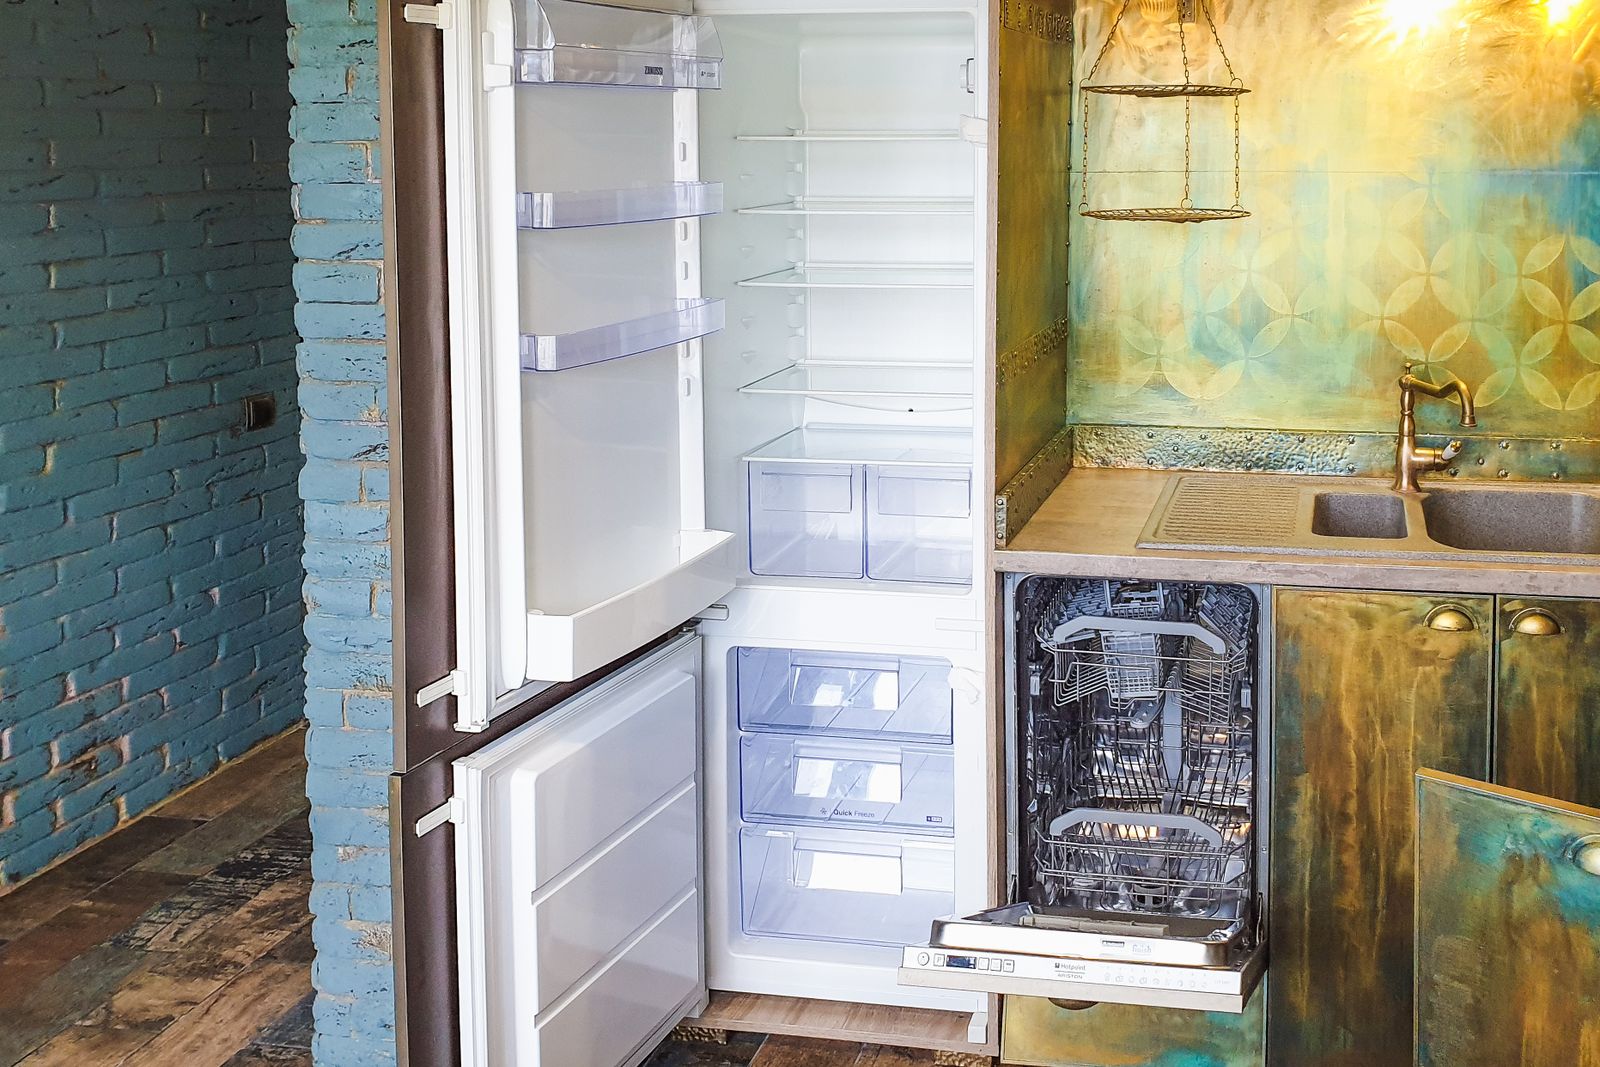
Standard Fisher & Paykel dishwashers require a 24-inch wide opening. Height is adjustable via the leveling legs — minimum 33.5 inches, maximum 34.5 inches under the countertop. Depth: 24 inches from the front of the cabinet to the back wall, with enough clearance behind the unit for water supply and drain hoses.
ADA-compliant models (Series 9 ADA variants) fit under 34-inch countertops — check the spec sheet for your specific model.
Electrical requirements
- Dedicated circuit — 120V, 60Hz, 15A (minimum). The dishwasher must be on its own circuit, not shared with the garbage disposal or other appliances.
- Junction box — Fisher & Paykel dishwashers are shipped with a power cord for direct plug-in or a junction box for hardwiring. Most models accept both. Check local electrical code — some jurisdictions require hardwiring.
- GFCI protection — Required by NEC 2020+ code for dishwashers. If your circuit doesn’t have GFCI protection, you’ll need a GFCI breaker or outlet installed.
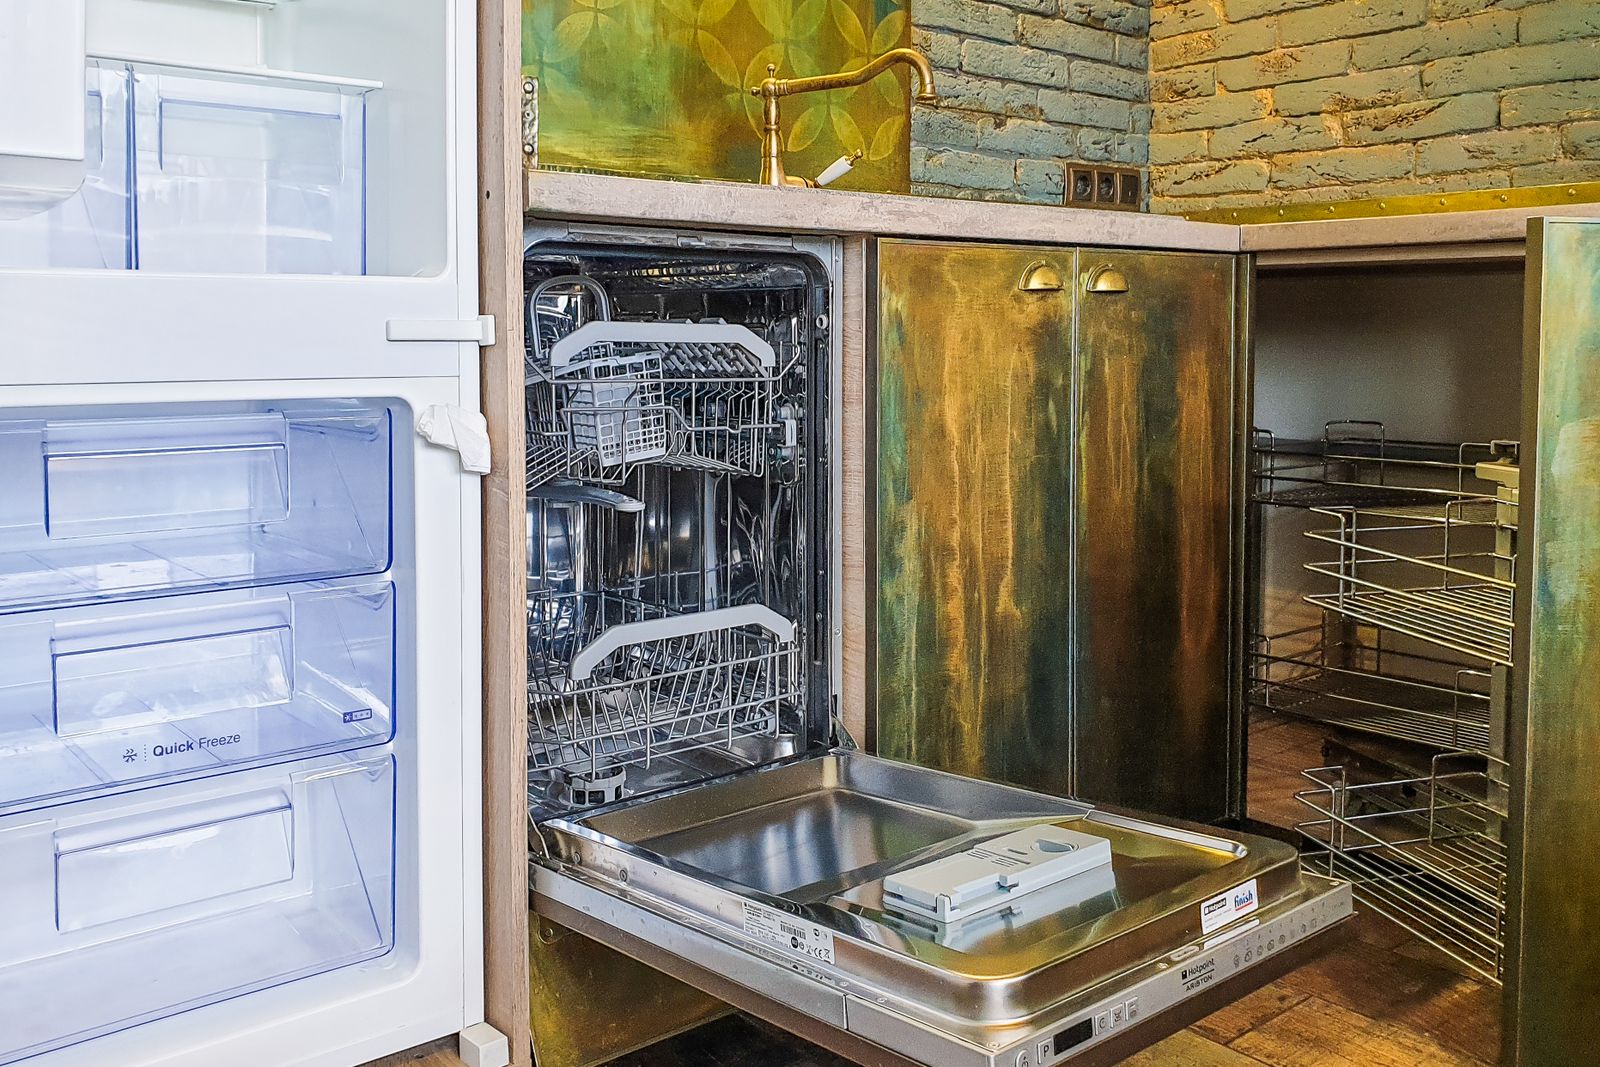
Plumbing
Water supply
Hot water supply with a shut-off valve, located under the adjacent sink. Standard 3/8-inch compression fitting. The supply hose included with most Fisher & Paykel models is 5 feet long — verify your valve is within reach. Water temperature at the valve should be 120°F minimum for optimal cleaning performance.
Drain connection
Three options, in order of preference:
- Air gap — The most code-compliant method. A dedicated fitting on the countertop or sink connects the dishwasher drain to the garbage disposal or sink drain. Required by code in many states.
- High loop — The drain hose is looped as high as possible under the countertop and secured with a bracket. Prevents backflow without an air gap. Accepted in most jurisdictions.
- Direct connection to disposal — The drain hose connects directly to the garbage disposal inlet. Remember to knock out the disposal plug if it’s a new disposal installation.
Common installation mistakes
- Not securing the dishwasher to the countertop with the included mounting brackets — the unit can tip forward when the door is open and the racks are loaded
- Kinking the drain hose — causes error code E24 (drain blockage)
- Failing to level the unit — causes water pooling, door alignment issues, and excessive vibration
- Overtightening water supply connections — cracks the valve or fitting, causing slow leaks
If you’d rather have a professional handle installation, schedule Fisher & Paykel appliance service. Our technicians install and test-run the unit before leaving.
Fisher-paykel dishwasher installation: final walkthrough
Once the unit is seated, level, and connected, run an empty hot cycle before loading any dishes. Watch the supply and drain connections through the first fill and drain phases — a slow drip almost always shows itself within the first two minutes. Confirm the door latches squarely and the racks roll freely, then check that the high loop or air gap is still secured exactly as you set it. Catching a loose fitting now is far easier than mopping up a cabinet floor next week.
Keeping a freshly installed unit running clean
A correct install sets the stage, but a few habits keep a new Fisher & Paykel dishwasher performing the way its SmartDrive system intends. Rinse the bottom filter under the tap every couple of weeks, wipe the door seal so debris doesn’t break the watertight closure, and run a cleaning cycle with the dispenser empty once a month to clear mineral buildup. These small steps protect the wash motor and spray arms that do the heavy lifting.
If the dishwasher ever throws a fault during or after setup, our error code reference explains what the display means before you reach for a wrench. When you’d rather not troubleshoot alone, our experienced technicians can diagnose the issue, source any needed parts from trusted suppliers, and quote repairs starting from $99, all backed by a 30-day labor warranty.