Why Your Dishwasher Filter Needs Regular Cleaning
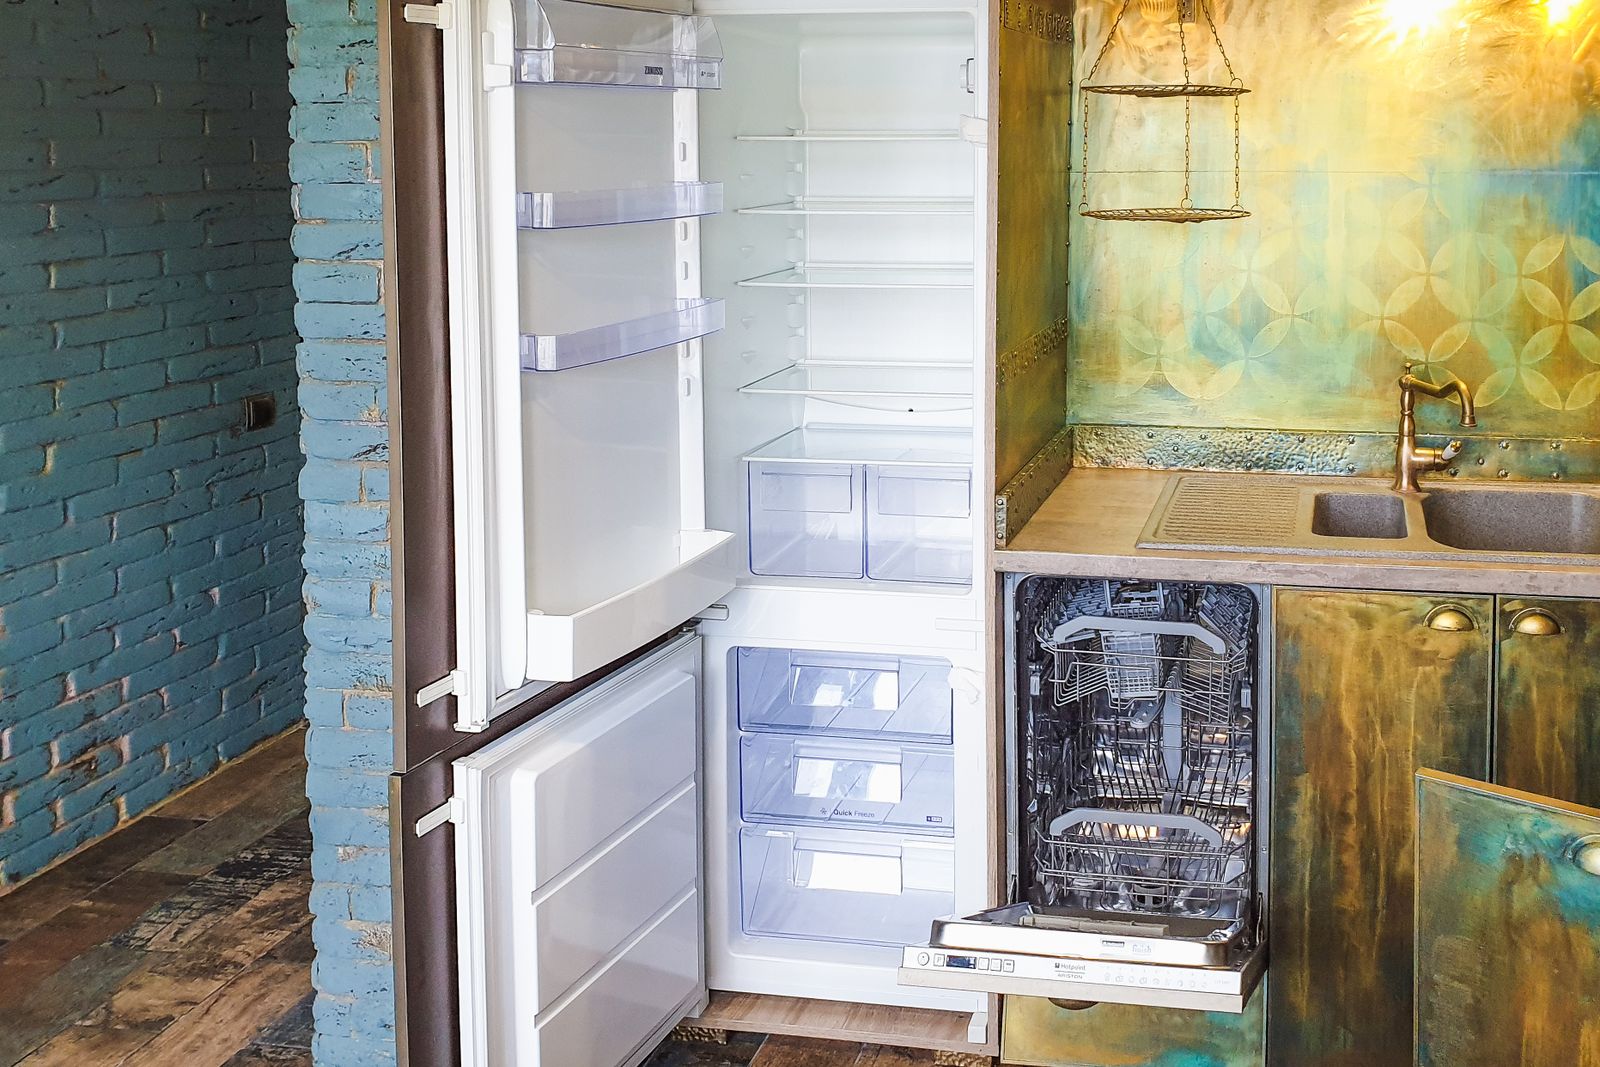
Learning to clean your fisher-paykel dishwasher filter is the most direct way to keep dishes spotless and water draining freely. Every Fisher & Paykel dishwasher uses a multi-part filter system at the bottom of the tub to trap food particles and prevent them from recirculating onto clean dishes. When this filter clogs, you’ll notice standing water after cycles, a foul odor, and food residue on glassware. Fisher & Paykel recommends cleaning the filter every two to four weeks depending on usage. The manufacturer’s Fisher & Paykel use-and-care manual for your model confirms the same interval.
A clogged filter also forces the drain pump to work harder, which can shorten its lifespan and trigger faults like a blocked drain or poor cleaning. Regular cleaning is the single most impactful maintenance task you can do for your dishwasher.
Tools You’ll Need
- Soft-bristle brush or old toothbrush
- Mild dish soap
- Warm running water
- Soft cloth or sponge
Step-by-Step Filter Cleaning
1. Remove the Bottom Rack
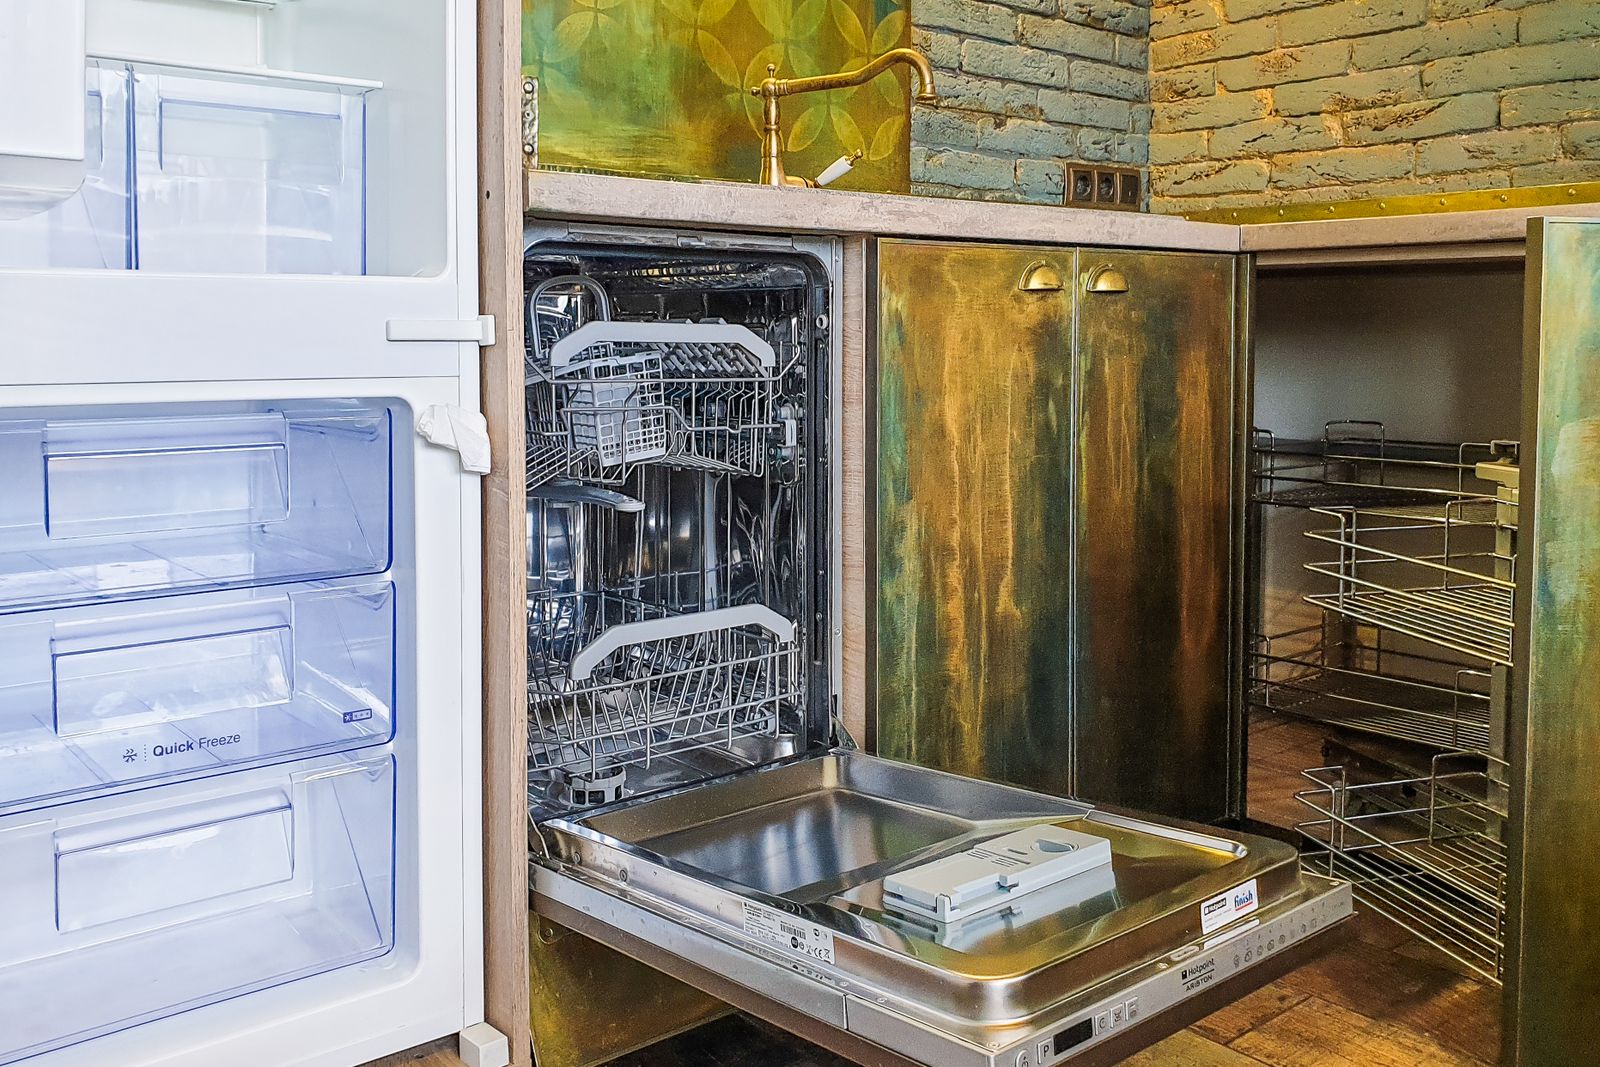
Pull the lower dish rack all the way out to access the filter assembly on the tub floor. On most Fisher & Paykel models, the filter is located near the center or slightly to the left.
2. Remove the Filter Assembly
The Fisher & Paykel filter system has three parts: the cylindrical micro-filter, the flat coarse filter, and the fine mesh filter underneath. Turn the cylindrical filter counterclockwise about a quarter turn and lift it out. The flat filter lifts out next.
3. Rinse Under Running Water
Hold each filter piece under warm running water. Use a soft brush to gently scrub away any food particles, grease, or mineral deposits. Avoid abrasive scouring pads — they can damage the fine mesh.
4. Clean the Filter Housing
With the filters removed, check the filter housing in the tub floor. Wipe away any debris with a damp cloth. Check that the drain pump cover (the small plastic flap) moves freely.
5. Reassemble
Place the flat filter back into position, then insert the cylindrical filter and turn it clockwise until it locks. The arrow on the filter should align with the lock icon on the housing.
Signs Your Filter Needs Cleaning Now
- Water pooling at the bottom after a cycle completes
- Unpleasant odor when you open the door
- Gritty residue or food particles on dishes
- Cloudy glassware despite using rinse aid
- E22 error code (filter blockage detected)
Preventive Tips
Scrape large food debris off plates before loading — you don’t need to pre-rinse, but solid chunks of food should go in the trash. Run hot water at the kitchen sink before starting a cycle so the dishwasher fills with hot water from the start. Use a quality detergent and ensure your spray arms are clear of obstructions.
If cleaning the filter doesn’t resolve drainage issues, the problem may be deeper — a kinked drain hose, a faulty drain pump, or a blocked garbage disposal connection. Schedule a service call and an experienced technician can diagnose the exact cause.
How to clean your fisher-paykel dishwasher filter: key takeaways
A two-minute filter rinse every few weeks prevents the standing water, odors, and gritty residue that most often send a DishDrawer or built-in Fisher & Paykel unit in for service. Make it part of your routine, reseat the cylindrical filter until the arrow locks, and you’ll head off the bulk of common wash complaints. If standing water returns even after a clean filter, book professional service to check the pump and hose.
Keeping your Fisher & Paykel dishwasher in shape between deep cleans
Beyond the filter, a monthly hot rinse cycle and an occasional wipe of the door gasket keep mineral scale and grease from building up where you can’t see it. Spinning the spray arms by hand to confirm they rotate freely takes seconds and protects wash coverage on every rack.
Keep your model and serial number handy too — they’re printed on the rating plate along the inner door edge of most Fisher & Paykel dishwashers. Having that number ready lets a parts supplier match the exact filter assembly or drain pump for your unit, so a repair visit isn’t delayed waiting on the right component.