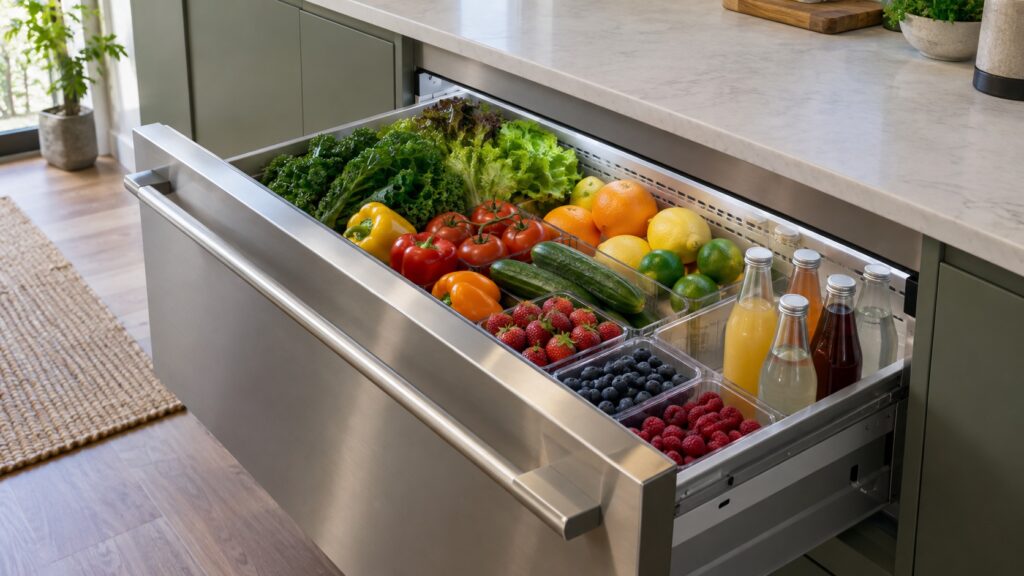
A Fisher & Paykel CoolDrawer earns its place in a kitchen by doing several jobs a single-purpose fridge or freezer drawer cannot — switching between refrigeration, wine storage temperature, and freezing depending on what the household needs that week. Getting the most from it is less about any single setting and more about matching what goes in the drawer to the mode it is actually running in, and re-checking that mode more often than most owners think to.
What is the biggest mistake people make when using a CoolDrawer?
Loading food into the drawer expecting one mode while it is actually still set to, or transitioning to, a different one. A CoolDrawer’s flexibility is also its biggest trap: because the same physical drawer can run as a refrigerator, a wine drawer, or a freezer, it is easy to load it on the assumption that it is in whichever mode it was in last, without actually checking the current setting first. Food that needs freezing, loaded into a drawer still running in refrigerator mode, simply will not freeze — and the reverse mistake, loading fresh produce into a drawer that has been switched to freezer mode for a holiday, ruins it just as fast.
The fix is a habit, not a setting: check the mode indicator before loading anything that specifically needs one mode rather than another, every time, especially after any recent mode change. Our CoolDrawer mechanism guide explains how the drawer actually shifts between modes if you want the fuller picture of why this check matters.
How long should I wait after switching modes before loading food?
Long enough for the drawer to actually reach its new target temperature, which is longer than it might seem from the outside. Switching from refrigerator to freezer mode, in particular, asks the drawer to pull its interior down through a much larger temperature range than a small refrigerator-to-refrigerator adjustment would. Loading food immediately after switching, before the drawer has stabilized at the new target, risks food sitting at an intermediate, unsafe temperature for longer than it should, especially for anything that needs to freeze solid rather than just get cold.
A simple habit avoids the guesswork: switch the mode first, let the drawer run empty or lightly loaded for a reasonable settling period, and load the bulk of what needs that specific temperature afterward rather than all at once during the transition.
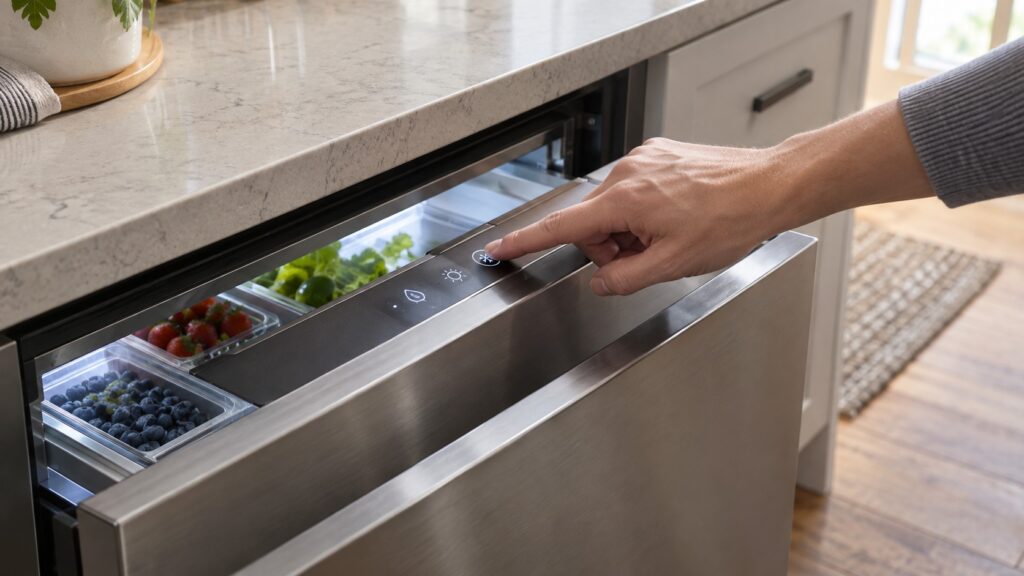
Is wine mode on a CoolDrawer a real substitute for a dedicated wine cooler?
For a modest bottle count and short-to-medium-term storage, yes, reasonably well — the CoolDrawer’s wine mode targets a warmer range appropriate for wine rather than standard refrigerator temperature. Where it falls short of a dedicated unit is when a household wants to store both reds and whites at their separately ideal temperatures simultaneously; a single CoolDrawer running in wine mode holds one temperature range, not two independent zones the way a true dual-zone wine cooler does. Our single versus dual-zone wine cooler buying guide covers that comparison directly if wine storage is the primary use case being considered.
For a household that mostly wants flexible extra capacity with wine storage as an occasional secondary use, the CoolDrawer’s approach — one mode at a time, switched as needed — is a reasonable trade against the cost and footprint of a separate dedicated wine unit.
Can I run two CoolDrawers in different modes at the same time?
Yes, and this is one of the more useful ways to get real flexibility out of a kitchen fitted with more than one CoolDrawer. Each drawer runs its own mode independently, so a household with two units can, for example, keep one running as refrigerator overflow while the other stays in freezer mode for bulk storage, switching either one as seasonal needs change without disturbing the other. This is a genuine advantage over a single fixed-purpose drawer, but it only pays off if both drawers are actually checked and used according to their current mode rather than treated interchangeably out of habit.
Labeling or otherwise noting which drawer is set to which mode is a small habit that prevents the same loading mistake described above from happening twice as often in a two-drawer kitchen. A simple sticky note or a small dry-erase tag near each drawer’s control panel, updated the moment a mode changes, costs nothing and removes the guesswork that causes most mixed-up loading in a multi-drawer setup.
How should I organize a CoolDrawer for the mode it is currently running?
- In refrigerator mode, treat it as overflow space for produce, drinks, or party prep rather than primary storage for anything that needs to stay at the very back of a full-size refrigerator’s coldest zone.
- In wine mode, keep bottles lying flat or upright according to the manufacturer’s guidance for the specific drawer configuration, and avoid mixing in food items that need a genuinely colder temperature than wine storage provides.
- In freezer mode, load flatter, smaller items first to take advantage of faster freezing near the drawer’s cooling surfaces, similar to a chest freezer’s loading logic on a smaller scale.
- Whenever switching modes, remove anything left over from the previous mode’s use rather than assuming it will be fine under the new temperature setting.
We are an independent repair company, not a factory service arm, and if a CoolDrawer is not reaching or holding the temperature its mode setting calls for, that is worth a diagnostic look rather than assuming the mode switch itself is simply slow. Book Fisher & Paykel refrigerator repair or schedule a visit if a CoolDrawer is not holding the temperature its current mode should produce.
Getting Fisher Paykel CoolDrawer mode switching right costs nothing to apply and prevents the great majority of the loading mistakes we see on service calls that turn out not to be a fault at all.