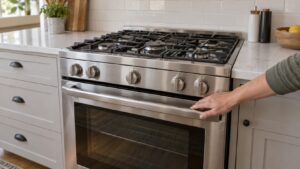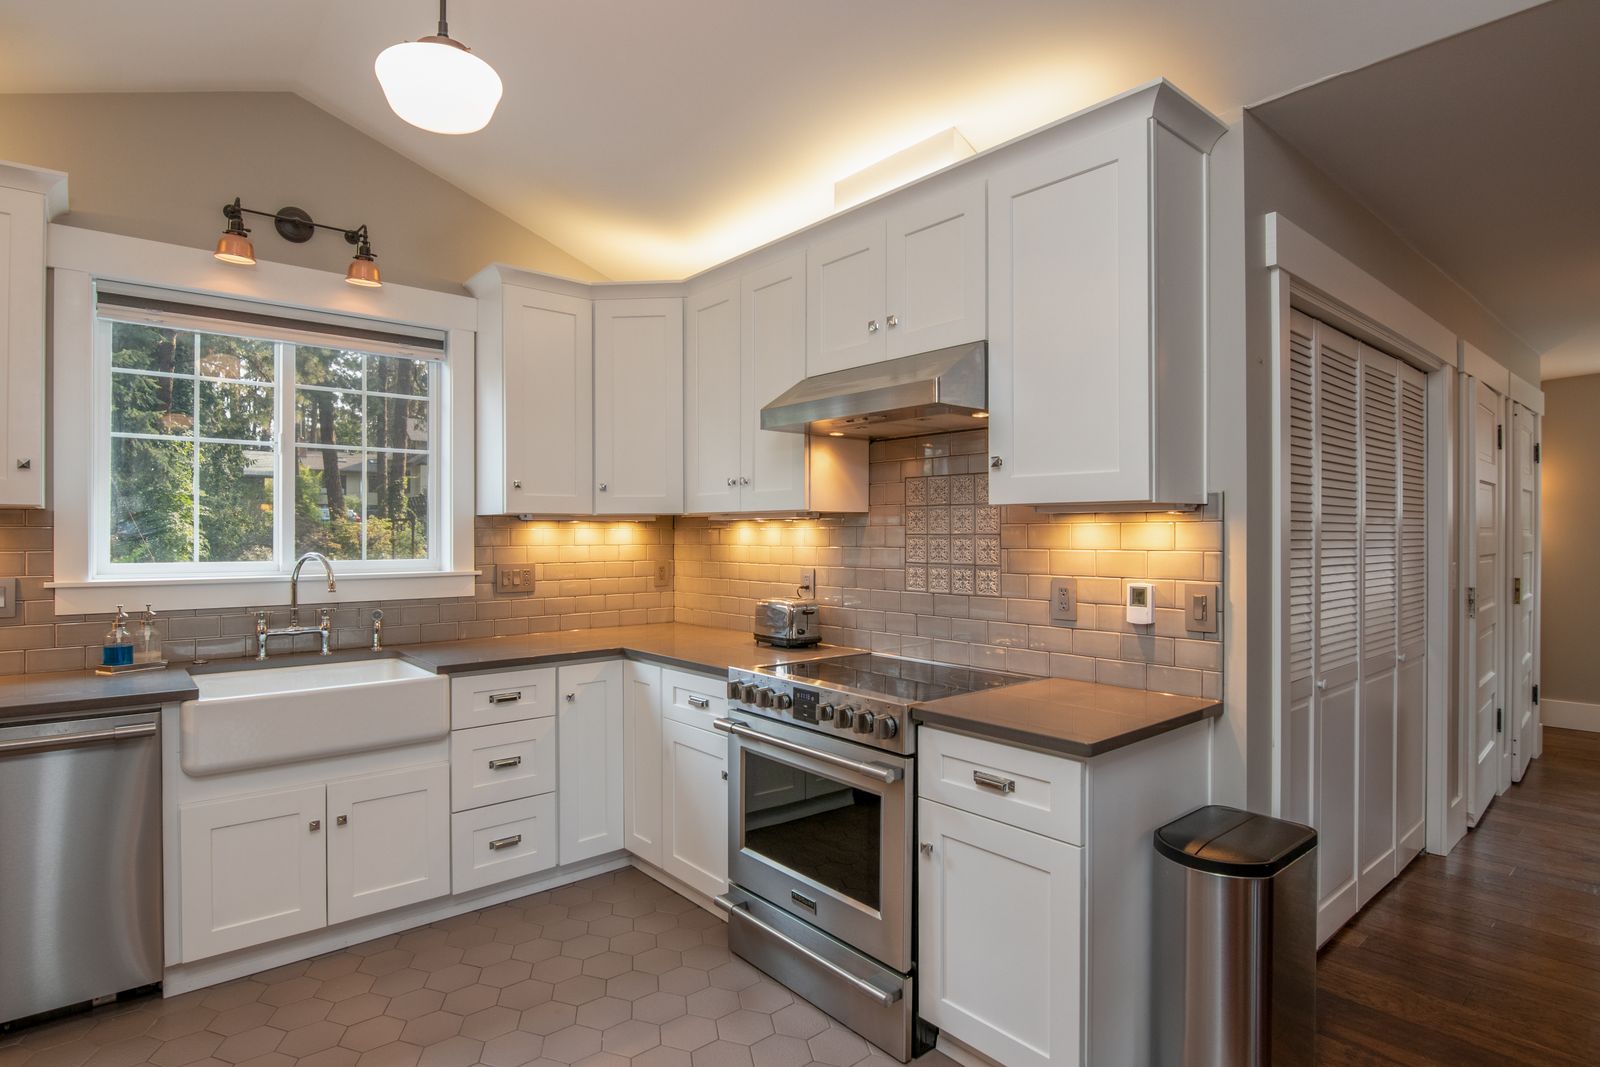

A Fisher Paykel range installation comes down to five things done in the right order: confirm the fuel and connection for your exact model, check the opening and the clearances, level the range, secure the anti-tip bracket, and test everything before you cook. The gas connection and the high-voltage connection are the two steps to hand to a qualified installer, because a mistake there is a safety problem, not an inconvenience.
What do you need to know before the range arrives?
Start with the model number on the rating plate or the carton, because the fuel, the width and the connection all follow from it. Fisher Paykel ranges on our model list include the 30-inch and 36-inch OR families and larger models such as the RHV3484N and RDV3485GDN, and the installation details differ between a gas model, a dual fuel model and an all-electric one. Read the installation instructions that come with your exact range before you plan the work, since dimensions and clearances vary by series.
Measure the opening, the floor and the wall behind. A range needs a firm, level floor that can carry its weight, and the finished surfaces beside it, such as countertops, need to match the height the manual allows. If you are replacing an older range, do not assume the old connections are right for the new one, because a gas fitting or a receptacle that served the old range may not suit a different model.
How should the gas and electrical connections be handled?
A gas range needs a shutoff valve within reach, an approved flexible connector sized for the range and a leak test of every joint after the connection is made. A licensed professional should make that connection, and the room should be well ventilated while the work is done. If you ever smell gas, stop, leave, and call your gas utility from outside before touching any switch.
The electrical supply is a separate item even on a gas range, because the clock, the igniters and the oven controls need power. Dual fuel and electric ranges need a dedicated high-voltage circuit and a receptacle or hardwired supply that matches the manual. Do not change a cord to fit a receptacle that does not match. The cooktop on its own has its own requirements, which we cover in our Fisher Paykel cooktop installation requirements guide.
Why does the anti-tip bracket matter so much?
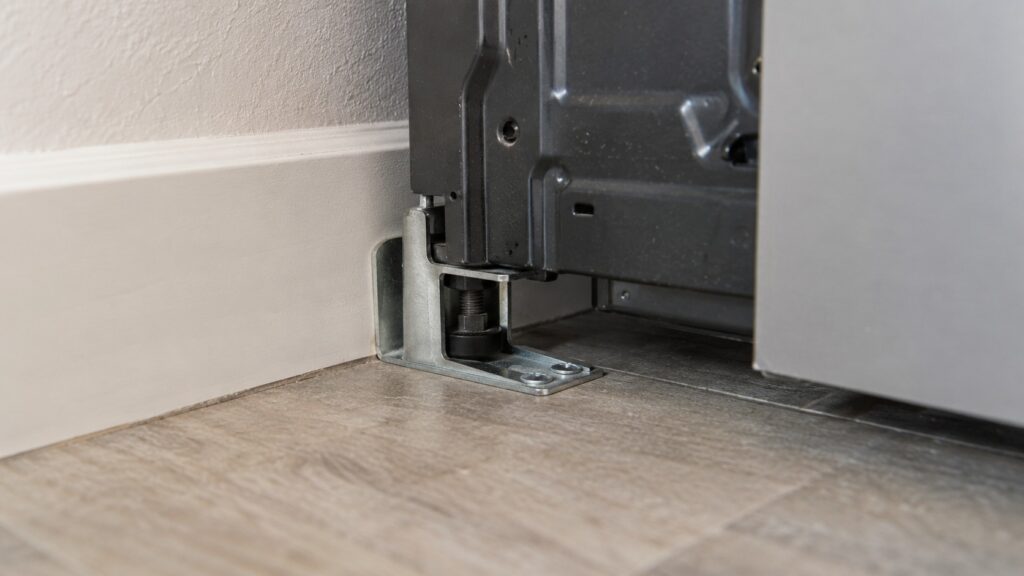
A range is front-heavy once the oven door is open and loaded, and a child climbing on an open door or a heavy pot on it can tip the whole unit forward. The anti-tip bracket is a small metal part that anchors to the floor or wall and catches the back of the range so it cannot tip. It is the single most important safety step in the installation, and it is the one most often skipped when a range is pulled out for cleaning and pushed back.
After the range is in place, tilt it gently forward to confirm the bracket engages. If you move the range later for any reason, check the bracket again before you use it. The bracket works only when it is anchored into solid material, so use the screws and the placement shown in the manual instead of whatever is in the toolbox.
How do you level the range and check clearances?
Set a level on the oven rack and on the cooktop surface, and adjust the leveling feet until the bubble is centered in both directions. A range that rocks or leans can cook unevenly, because liquids pool on one side of a pan and the oven fan works against the tilt. Level it before the bracket is final, then recheck after the range is pushed into place.
Check the clearances to the sides, the back and the cabinets above. The manual gives minimum distances to combustible surfaces and a minimum height to anything overhead, and a hood is part of that picture. A hood or downdraft that is too weak or too far away will leave grease on the cabinets and heat on the walls. Our guide to Fisher Paykel range cleaning and maintenance shows the surfaces that suffer most when ventilation is poor.
What should you test before the first meal?
With the range in place, restore power and open the gas valve slowly. Light each burner in turn and watch the flame: it should be steady and mostly blue. Run the oven to a moderate temperature for a short time, listen for the fan and confirm the oven heats. If a burner will not light, our guide on a Fisher Paykel range burner not igniting walks through the usual causes.
The first use of a new oven often produces a light odor as manufacturing oils burn off, which is normal and passes quickly. A persistent gas smell, a flame that lifts or yellows, or an oven that never heats is not normal. Shut the range off and arrange a visit rather than cooking around it.